photo credit: Anthony Mattox via photopin cc
Good evening, this is Bono.
In this article, we will show you how to use Arduino to write programs to a microcontroller called ATtiny.
The following site was used as a reference.
Arduino] Developing ATtiny with Arduino - The jonki
ATtiny85 is used in this case
A cute little 8-pin microcontroller, ATtiny. this time we used ATtiny85.
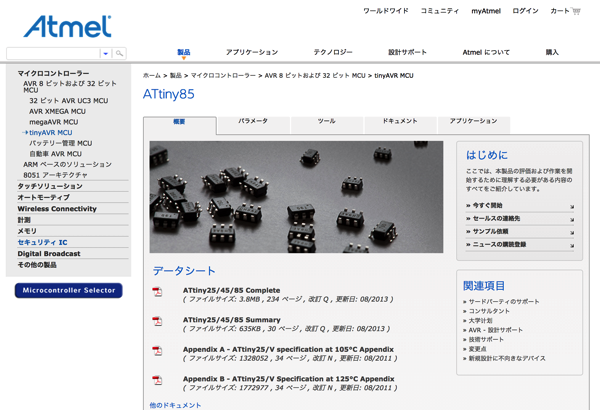
Atmel Corporation's home page.
ATtiny85
Upon investigation, it turns out that it can be written using an Arduino.
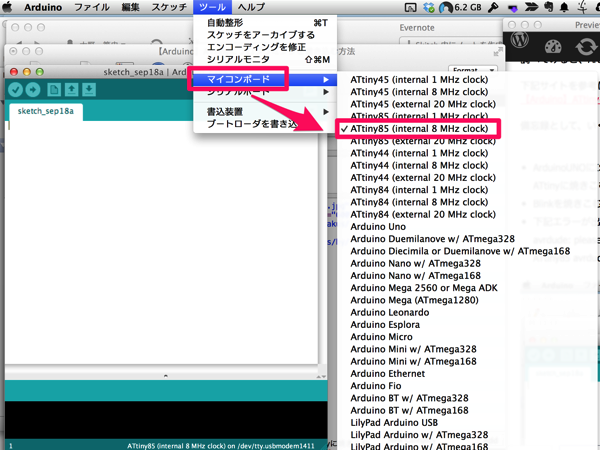
Select "Tools" -> "Microcontroller board" -> "ATtiny85(internal 8MHz clock)".
As a reminder, we leave you with a few notes.
writing implement
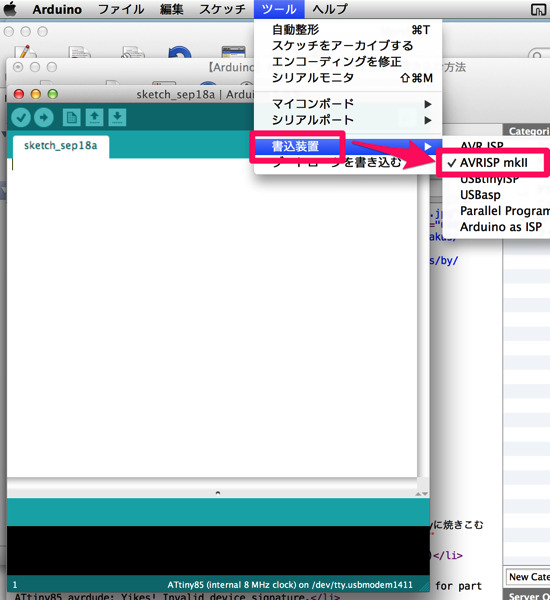
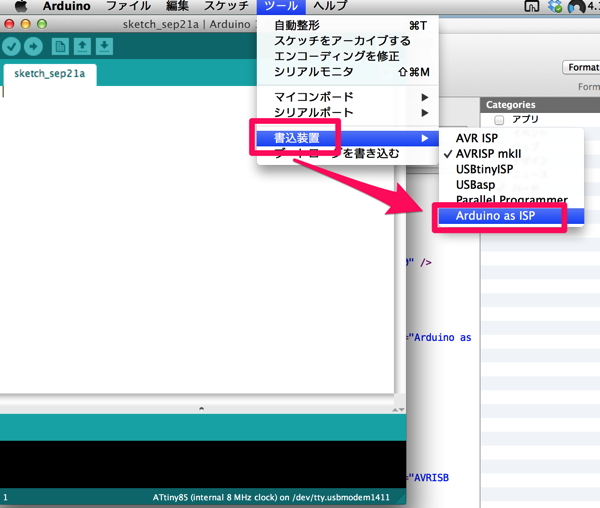
When baking the program into ArduinoUNO, the write device should be "AVRISB mkII".
As shown in the screen below, select "Tools" and then "AVRISP mkII".
baking
When writing to ATtiny, select "Arduino as ISP" because Arduino is used as a writing device.
precautions
When baking in Blink, the LED pin number should be 4 (to match the ATtiny pin number).
You will also get the following error message, but you can ignore it.
[crayon] avrdude: please define PAGEL and BS2 signals in the configuration file for part ATtiny85avrdude: Yikes! Invalid device signature.
Double check connections and try again, or use -F to override
This check.
[/crayon]
 Start electronics
