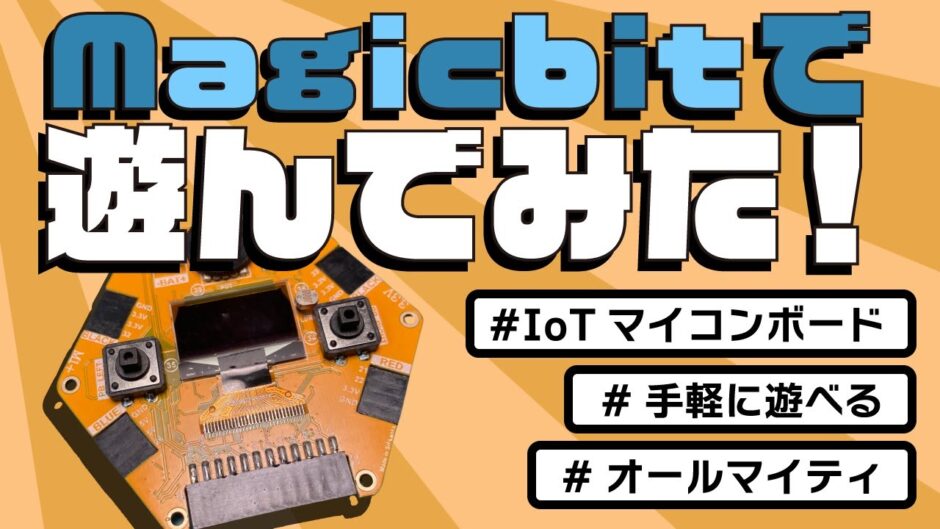

This time, we were provided with a new microcontroller board called Magicbit, so we played around with it using sample code.
First of all, I would like to conclude that this is a microcomputer board that can be used for all purposes, so it is one of the options for those who are not sure about board selection.
Please refer to this video.
YouTube
0:00 Opening
0:22 What is Magicbit?
2:22 Playing with Sample Code
8:27 Review
9:15 Summary
Related Links
Make
IoT electronics Magicbit for games, radio-controlled cars and robots from scratch.
https://www.makuake.com/project/magicbit
self-introduction
Hardware Engineer
Electronic engineering experience: 9 years
I am running a channel “Start Electronics Today”, a channel that systematically lays out electronic construction from scratch.
SNS
Web : http://start-electronics.com
Twitter : https://twitter.com/buonoatsushi
#electronics #crowdfunding
Video Transcription
First, let us introduce what magicbit is.
magicbit is a microcontroller board with a hexagonal shape developed by a startup team in Sri Lanka. magicbit was crowdfunded on Makuake from August to September 2022 and successfully reached its goal.
The most appealing point of this board is its high expandability, which makes it an all-in-one board that can be used for all kinds of crafts. The official website claims that the board can be used for more than 50 different kinds of crafts, including games, radio-controlled cars, robots, and IoT. The reason for this wide range of development is that not only are sensors, displays, and communication functions pre-installed, but the board also offers a comprehensive range of modules that can be expanded to include smartphone apps, moving robot cars, and more. There are other boards with similar concepts, such as microbit and M5Stack, but I think magicbit has a wider range of applications compared to them.
Another point is the ease with which even beginners can start development immediately. On the hardware side, as I mentioned earlier, various modules are pre-installed, so development can begin immediately after preparing a single board set. The software is also well designed for beginners, with magicCode based on Scratch, a well established development software for children, and magicBlocks based on Node-RED, which is often used for IoT development and does not require programming, The environment is ready for you to start development right away. And of course, for those who want to write code, Arduino and Python development are also available to meet the needs of intermediate and advanced users. The table below compares the above features with those of microbit and M5Stack. microbit and M5Stack also have various functions, but magicbit is a more enhanced version.
Next, I would like to show you some examples of sample code that I played with to try it out.
As the name suggests, Node-RED is a visual programming environment based on Node-RED, in which you create a program by connecting parts called nodes. Basically, there is no need to write text code, and you can drag and drop the nodes in the palette on the left side of the screen onto your workspace, just like building Lego. Also, the screen UI for operation can be easily created.
First, let’s display the usual Hello world on the magicbit display from the browser. Drag and drop the text input from the dashboard in the palette, the Display in magicBit, and connect them with a line. Double-click text input to add a new ui_group and ui_tab. Next, select the magicbit you want to connect from among the Device IDs in Display. Now press deploy and the program will be written to the magicbit via WiFi and run. open the Dashboard screen and type Hello world, and you will see that this too is transmitted via WiFi and appears on the display about 1 second later.
Next, let’s use the ultrasonic sensor to display the distance in the browser. We will bring three nodes from the palette, Inject, Ultrasonic, and Gauge, and connect them with a line. First, open Inject and set the payload to date and time. Payload, by the way, is an unfamiliar word, but it means something like the body of data. Then, set Repeat to “Specified time interval” and set the time interval to 1 second. That way, you can call this program every second. Next, double-click Ultrasonic, choose a device ID, and create a dashboard with Gauge. Finally, connect the ultrasonic sensor, press Deploy, and you are done. We have confirmed that the gauge value changes as we move objects closer or further away.
Next, we will introduce one that incorporates APIs, which are often used in IoT gadgets. API stands for application programming interface, and simply put, it is a mechanism that makes server data available to the public so that it can be easily used by third parties. Here, we will use OpenWeather, an API that provides local weather information, to obtain the temperature, pressure, humidity, and wind speed in Tokyo. We place an Inject, an http request, and four text nodes in the workspace, and in the Inject, we set the payload to be the date and time, repeating every 10 seconds. Next, in the http request node, set the method to GET and enter this URL in the URL field. Incidentally, GET is a method of retrieving data that includes the request content in the URL. Also, in the case of this API, the response will be in the form of JSON, so JSON should be selected as the output format. This depends on the API to be used, so please check the specifications in advance. Finally, four parameters are extracted from the acquired data and displayed. For example, in the case of temperature, as shown in the API specification page, it is included in the temp of the main level of the data, so it is written as main.temp.
Enter each of the four parameters in the same way, set the label and dashboard, and press deploy. When completed, you will see the data being updated every 10 seconds.
Finally, we will try to run the robot car using the Arduino development environment. First, as a preliminary preparation, fit an infrared sensor into magicbit and paste this code from the official website into Arduino. When the program is executed, it enters standby mode, so with the serial monitor open, press the up/down/left/right buttons on the TV remote control. You will then see the hexadecimal number corresponding to the button on the screen, so write down this number. Next, copy and paste the main body of the program from the official website into the Arduino, and replace this part with the numbers I wrote down earlier. Then, I will modify the remote control specifications that I prepared, because they were different from the sample code specifications. Then, insert the magicbit and infrared sensor into the robot car, write the program, and you are done. When the batteries are inserted and the switch is turned on, pressing the button on the remote control will make the toy move in that direction. If you want to challenge yourself, it would be interesting to combine this program with other sensors to make a robot car that keeps running until it hits a light or changes direction before hitting a wall.
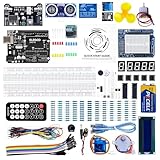
\電子工作歴9年の私のイチ押し!ELEGOOの電子工作キット/