
YouTube
0:00 Opening
0:30 What is a jumper wire?
0:57 Features of Single Wire Type
1:41 Features of stranded wire type
3:35 One Point Advice
4:20 Summary
Jumper Wire Basics


In this article, we will explain the types and characteristics of jumper wires.
Knowledge of jumper wires will also increase the reliability of your circuits, as you will not have to wonder which one to use when assembling a circuit.
Please read this article to the end to learn more about such jumper wires.
What is a jumper wire?
First, let us explain what a jumper wire is in the first place.
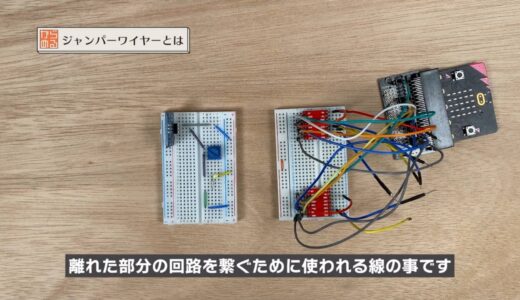
It is also sometimes called a jumper wire or simply a jumper.
There are two types: one is called ” single wire type” and the other is called “stranded wire type.
They look similar but have very different characteristics, which we will explain in turn here.
Single line type
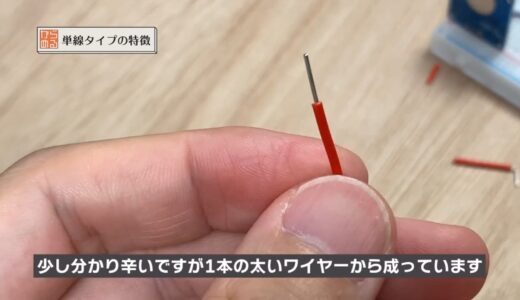
First, an explanation of the single wire type.

The contents of the single-wire type coating, when cut, look like the following, and although it is a little hard to tell, it consists of a single thick wire.
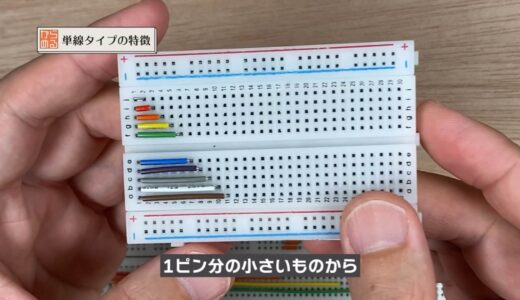
Single wire types are available in a variety of lengths, from as small as 1 pin to as long as 50 pins.
 |
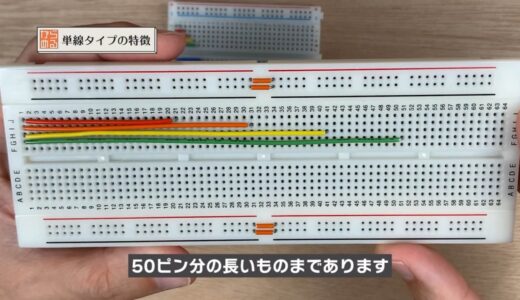 |
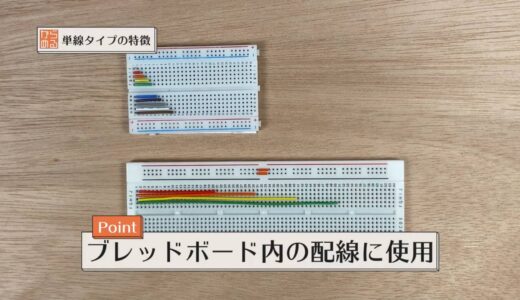
The main use is to build circuits in breadboards.
Two advantages of the single-wire type are as follows
- Clear circuit appearance.
- Low resistance and hard to break due to thicker wires
On the other hand, the following two disadvantages are also noted
- Hard to wire because of the hardness
- Colors are determined by length, so it is not possible to assign meaning to colors, such as unifying power lines with red, for example.
These are the descriptions and features of the single wire type.
stranded wire type
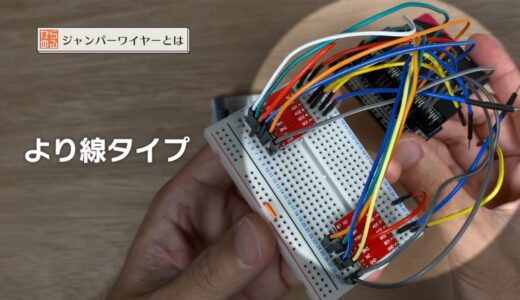
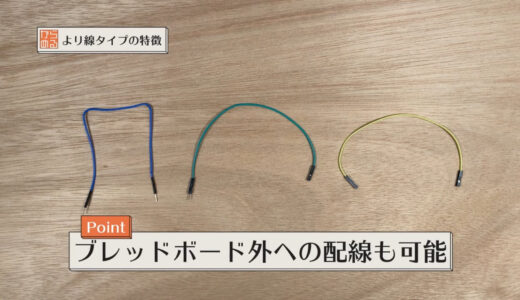
Next, we will discuss the more-linear type.
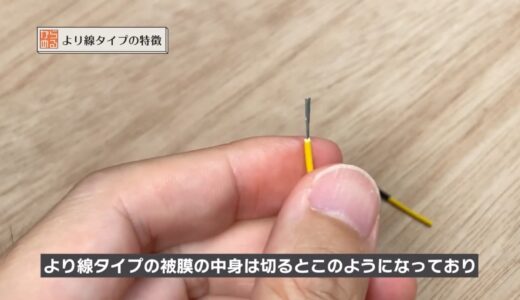
The contents of the stranded wire type coating, when cut, look like the following, and you can see that it is made of multiple fine wires bundled together.
The single-wire type is mainly intended for use in breadboards, whereas the stranded wire type can be used for various purposes, such as connecting a microcontroller board to a breadboard.
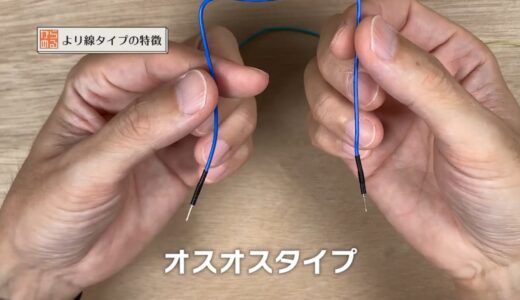
There are three main types of stranded wires: male-male type, male-female type, and female-female type.
 |
 |
 |
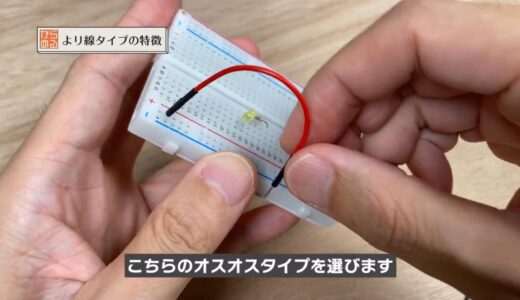
The use of these three types depends on what you want to connect.
For example, if you want to build a circuit in a breadboard, choose this male-male type.
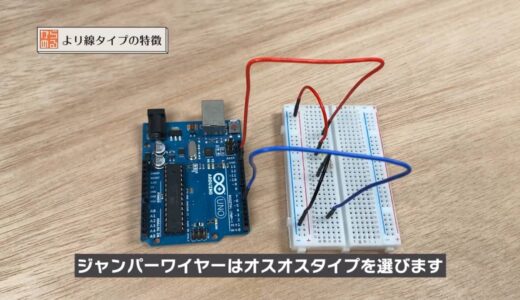
When connecting an Arduino to a breadboard, choose a male-male jumper wire since the Arduino is equipped with female terminals.
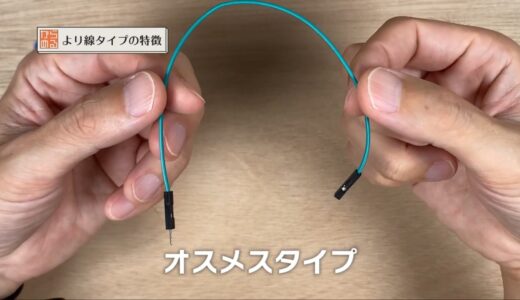
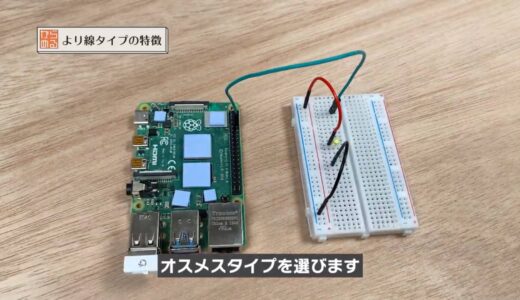
Conversely, Raspberry Pi has male terminals, so choose a male-female type.
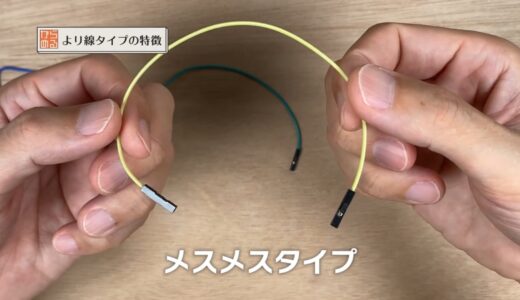
The male male is used most frequently, while the female female is rarely seen.
If you want to align them first, start with male males.
The more-wire type has the following two advantages
- Flexible and easy to wire
- Freedom to choose the color of the cable so that the color can be given meaning.
Conversely, there are three disadvantages
- Higher resistance than single wire
- Easily disconnected due to a set of thin wires
- Can be somewhat cluttered in appearance
These are the descriptions and characteristics of the more-linear type.
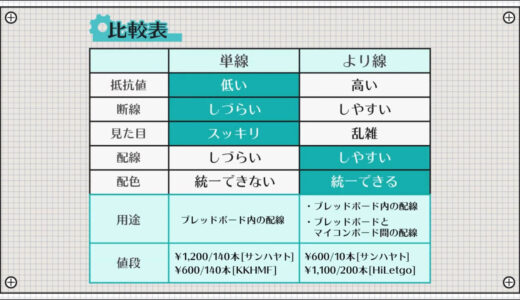
Summary of features of single line and stranded line
Finally, a table summarizing the characteristics of the single-wire and stranded-wire types is provided.
There is no guarantee that you should choose one over the other, and in the end, it will come down to your own preference.
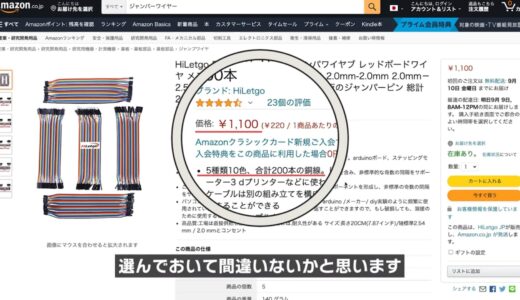
When purchasing, this cable from Hiletgo comes with various accessories, is inexpensive, and has a good reputation, so I think you can be sure to choose this area.
In addition, for those who have a little more money to spare, San Hayato’s male-male cables are recommended as they work well with San Hayato breadboards.

advice of a point (advice that may be helpful to some people)
In addition, I would like to offer one piece of advice.
In the case of Sanhayato jumper wires, a very standard item of the single-wire type, the color of the cable is not assigned at random, but by length, such as red for 2 pins and blue for 6 pins.

This rule is actually the same as the rule for resistance color codes.
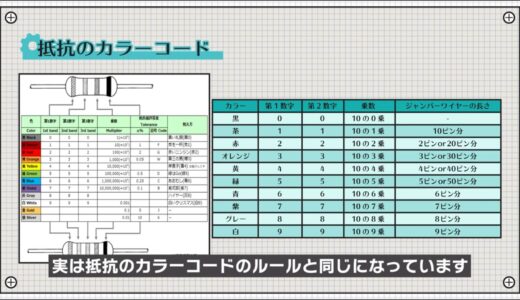
We will explain the color code of the resistor separately, but just know that the color code and the color of the San Hayato jumper wire are the same.
Once you learn it, it will help you choose not only resistors but also jumper wires, so if you are serious about doing electronic work, it is worth remembering.
summary
For those of you who have been using jumper wires somewhat, I have explained the basics of jumper wires again.
From now on, you should keep in mind the characteristics listed here and choose the right one for the circuit you want to build.

\電子工作歴9年の私のイチ押し!ELEGOOの電子工作キット/