
0:00 Opening
0:49 Choose by size
2:02 Select by presence or absence of power terminal
2:50 Select by number of columns
3:57 Select by the amount of current that can flow
5:00 One Point Advice
5:44 Summary.
How to Select a Breadboard


In this article, we will explain “how to choose a breadboard ” for those who do not know which breadboard to choose.
After reading this article, you will know what to look for when choosing a breadboard and will be able to buy one without hesitation.
There are four main points to consider when selecting a breadboard
- Board Size
- With or without power supply terminal
- Number of rows of pins for signals
- Amount of current that can flow
Each will be explained in turn.
(1) Board size
The first point to consider when choosing a breadboard is the size of the board.
As shown in the figure below, there are various types of breadboards, including “large types with about 2,000 pins,” “vertical types,” and orthodox “400-pin types.
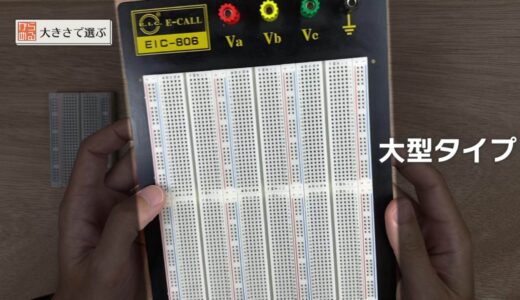
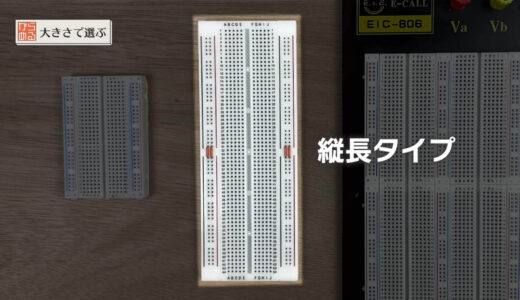

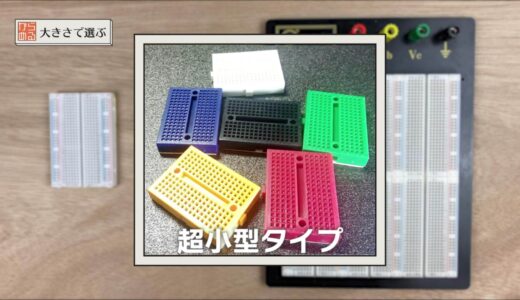
There are also “ultra-small types” that can be used like toys, and “ultra-large types with more than 3,000 pins” that can be used for all types of circuits.
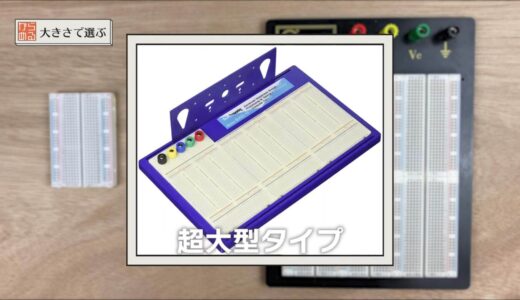
The super-large type has many pins and looks like it can build many circuits, but in reality, the circuits that can be built are not that large because some of the pins are connected internally.
The key to choosing the size of the board is to select one that is considerably larger than the scale of the circuit you wish to assemble.

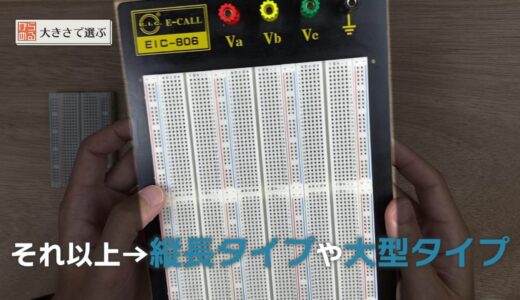
As a rule of thumb, if the number of components in the circuit you want to build is 10 or less, you can use the “orthodox 400-pin type”.

If it is more than that, we recommend using a larger “vertical type” or “large type”.
If you run out of space, please try this.
(2) Power supply terminal
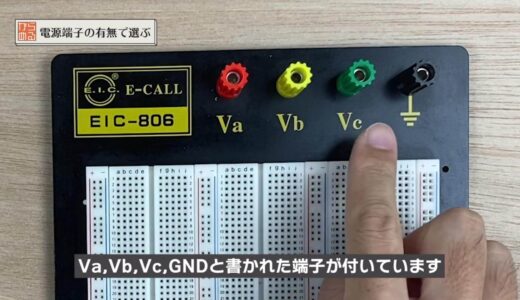
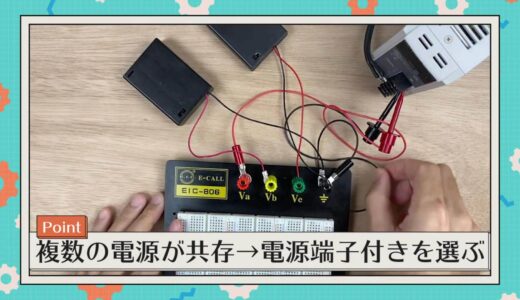
The next key factor in choosing a breadboard is whether it has a power supply terminal.
The power supply terminals are the terminals marked Va, Vb, Vc, and GND on the right side of the breadboard, as shown in the figure below.
As you can see on the back side, this is simply a metal plate with terminals, not directly connected to the breadboard.
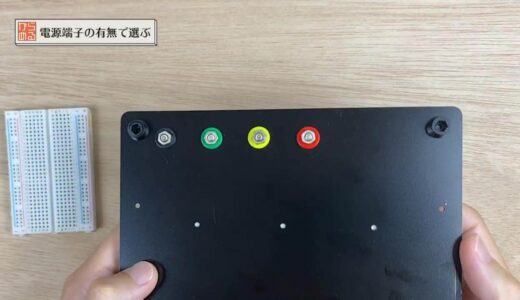
But it is very useful when multiple power supplies coexist in a circuit.
For example, as shown in the figure below, if three different voltages are supplied from a regulated power supply or battery, they should be connected once to the power supply terminals.
Then you can immediately tell which one is what voltage, which can drastically reduce the number of power supply connection errors.
Number of rows of pins for signals
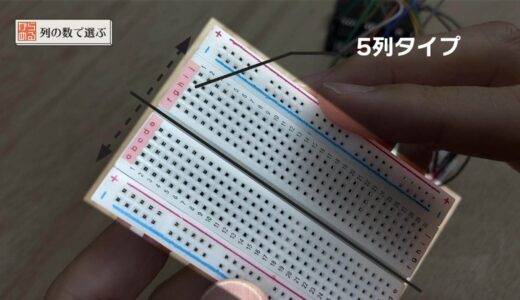
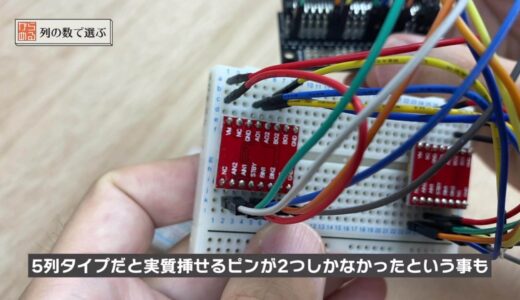
Since the width is quite large, you can see that three rows of pins on the inside are no longer available.
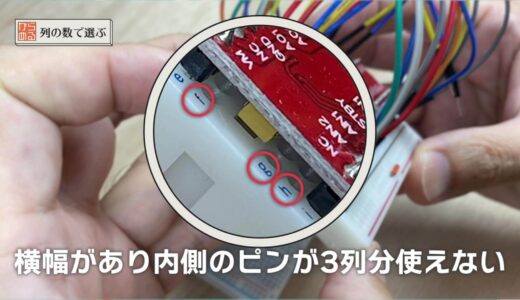

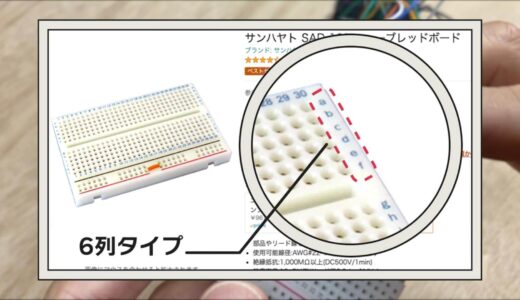
The six-row type is a little more expensive, but if you have some extra money in your pocket, choose the six-row type as much as possible.
Amount of current that can flow
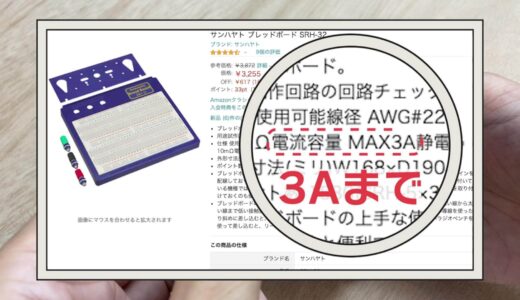
The last point in choosing a breadboard is the amount of current that can flow.
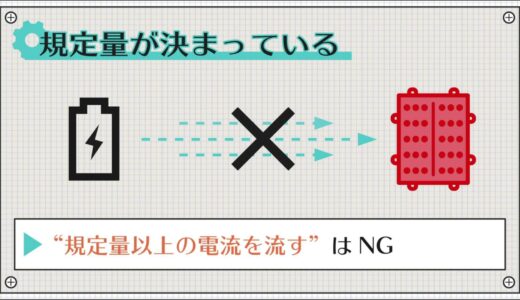
The breadboard contains metal pins as shown in the figure below, through which current flows.

Even metals have a certain amount of resistance, so they heat up when a large current is applied to them.
Since the cross-sectional area and material of the metal pins vary from manufacturer to manufacturer, the amount of current that can flow varies accordingly.
In many cases, the amount of current that can flow is not published, but if the product is from a reputable manufacturer, it should be listed as a specification.

- Board Size
- With or without power supply terminal
- Number of rows of pins for signals
- Amount of current that can flow
advice of a point (advice that may be helpful to some people)
One last piece of advice is in order.
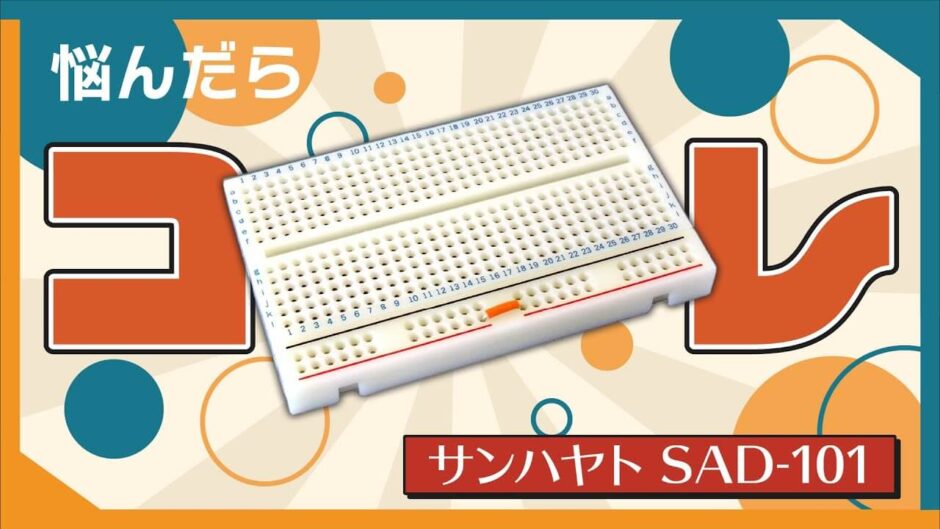
If you don’t have anything in mind yet that you want to make, but “I need a breadboard right away anyway! But I don’t want a shady Chinese-made one,” then just buy this “San Hayato’s SAD-101” without thinking twice.

Sanhayato is a well-established Japanese manufacturer of tools and accessories commonly used for experiments and educational purposes, and is extremely reliable.
This SAD-101 is a very standard breadboard in the 400-pin type from San Hayato and can be bought at a relatively affordable price.

If you are in doubt, please try this one.
summary
In this article, we have explained four key points for those who do not know which breadboard to choose.
With these four points in mind, you can safely choose a breadboard.
If you are still unsure, you can buy “Sanhayato’s SAD-101” first.
Other videos and articles are also available to help beginners learn electronics construction systematically from zero, including explanations of the minimum knowledge and tools they should acquire.
Please also refer to the following pages for more information!
\電子工作歴9年の私のイチ押し!ELEGOOの電子工作キット/