
YouTube
0:00 What is Arduino IDE?
1:33 How to install the Arduino IDE
2:54 Initial Setup of the Arduino IDE


In this hands-on introductory course for beginners, I would like to explain the theme of “2. Preparing Arduino IDE”.
This course is designed for those who are just starting out with electronics, and provides hands-on training on how to build electronic circuits and programming using the Arduino, a typical microcontroller board.
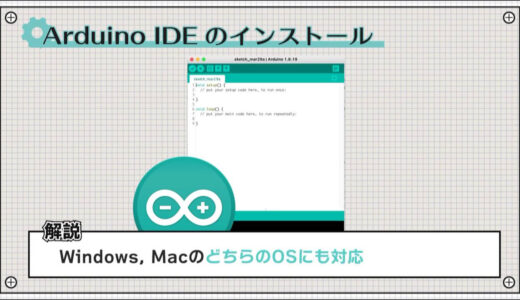
In this article, we explain the role of the Arduino IDE, how to install it and the initial settings to prepare for starting the lesson.
- Arduino Uno $3,150: https://amzn.to/39dcJgb
- ELEGOO Uno $2,399: https://amzn.to/3EGw84F
- KKHMF Uno $1,099: https://amzn.to/3L50Gzs (separate driver installation…)
2. Prepare Arduino IDE
Now we would like to move on to the next step, which is to prepare for the start of the lesson.
For starters, you cannot start without an Arudino, so if you don’t have one yet, buy one.
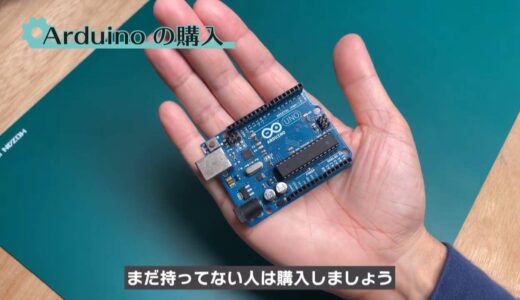
For this course, we recommend buying the following starter kit from Amazon, which contains not only an Arduino but also an all-in-one set of electronic construction tools.

In the lessons that follow, we will continue the discussion based on the components in this kit.
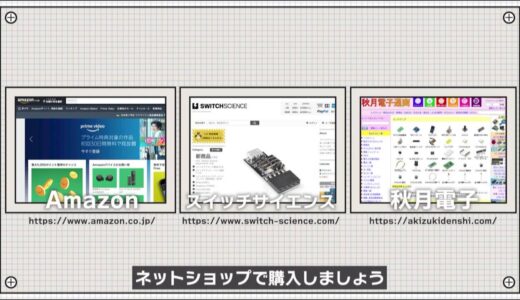
If you prefer to select individual components yourself, you can buy them from online stores such as Amazon, Switch Science, and Akizuki Denshi.
What is Arduino IDE?
Now, once you have ordered the Arduino, you will install the IDE for the Arduino on your computer while waiting for it to arrive.
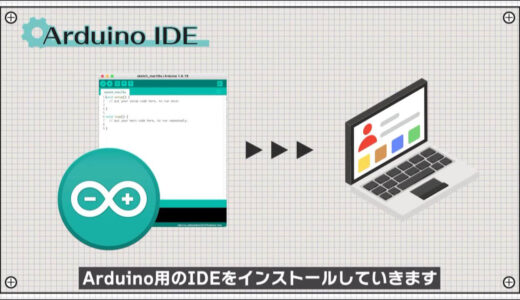
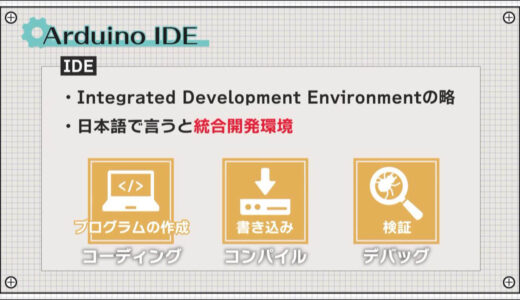
An IDE is an integrated development environment, which is an all-in-one software package that provides all the functions necessary for software development, from creating, writing, and verifying programs.
.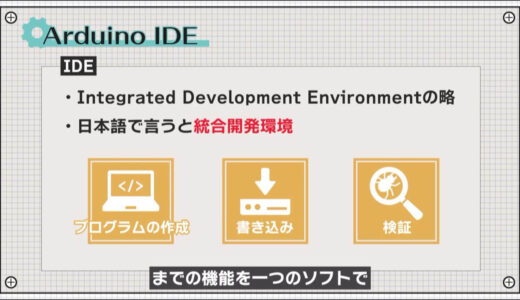
Technically, they are called coding, compiling, and debugging, respectively.
The microcontroller, which is the brain of the microcontroller board, is initially empty, so it is necessary to write the contents of the brain.

And since microcontrollers can only read digital signals with only 1s and 0s, called machine language, it is necessary to convert human-written text into machine language.
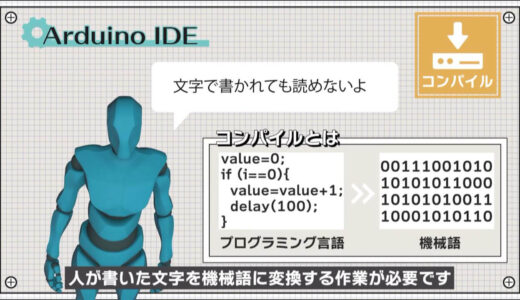
This conversion process is a huge hassle when done by a person, but with the IDE, it is done automatically with a single click.
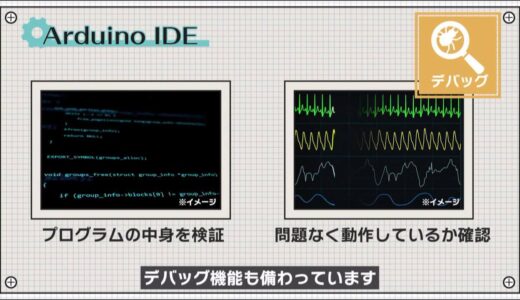
And the IDE also has debugging functions to verify the contents of the program and to check if the microcontroller is running without problems.
How to install Arduino IDE
Now, let’s install the Arduino IDE.
How to do the Windows version
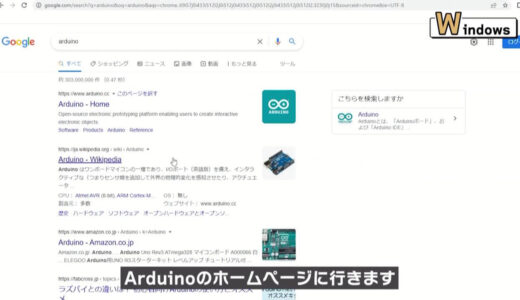
First, here is how to do the Windows version.
Type Arduino in the search box and go to the Arduino home page.
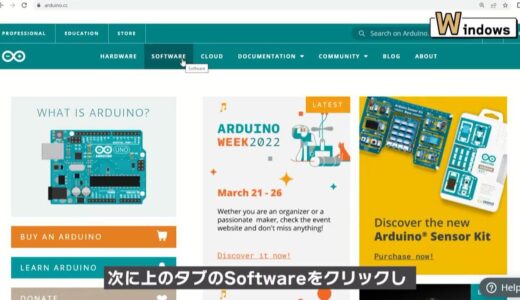
Then click on Software on the top tab and click on the link for the OS you are using.
 |
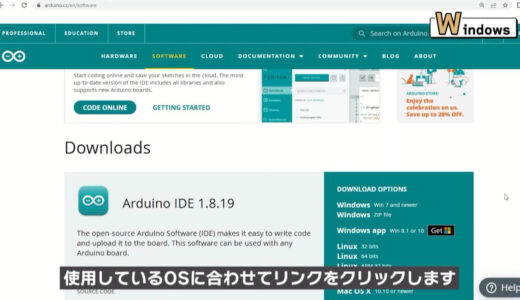 |
In my case, I am using Windows 10, so here it is.
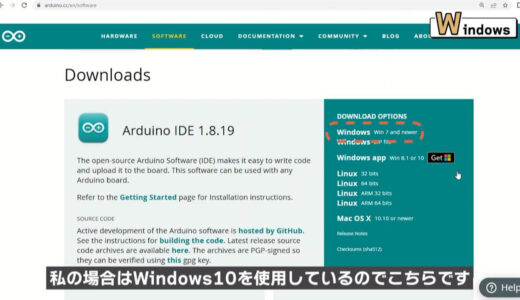
If you click on it, you will see this donation screen, but if you do not want to pay, press JUST DOWNLOAD here.

As the download begins, save the file and click on Save.
After a few moments, the installation screen will appear. Press Agree, select all, and press Next.
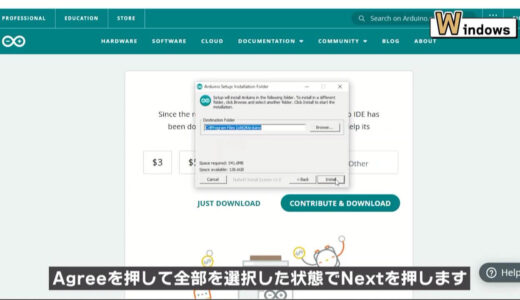
Next, the destination folder for installation is displayed, again with default settings.
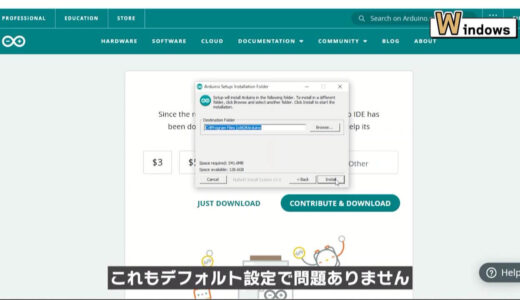
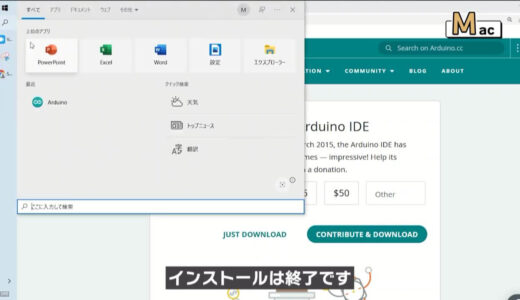
Press the Install button, and when the installation is complete, press the close button to finish.

How to do the Mac version
On the Mac, do the same thing, go to the Arduino home page from the search screen, click on Software, and select Mac OS.
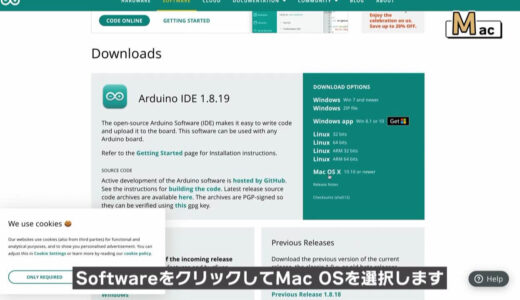
Pressing JUST DOWNLOAD for the same will download the zip file.
A strange screen may appear, but this is a questionnaire and can be ignored.

Click on the zip file to view the unzipped Arduino software.
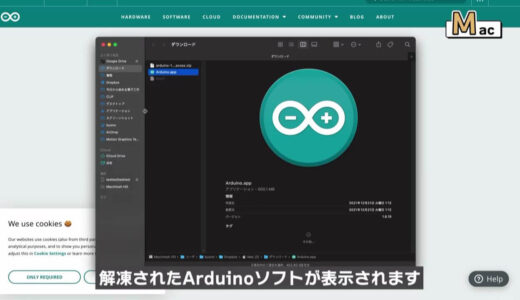
Then move this software to the applications folder and the installation is complete.
Arduino IDE initialization
Now let’s open the installed Arduino software.
By the way Although this lesson assumes that you are using Windows, the Arduino IDE screen, operation method, and program writing method are exactly the same for Mac, so there is no need to worry just because you are using a different operating system.
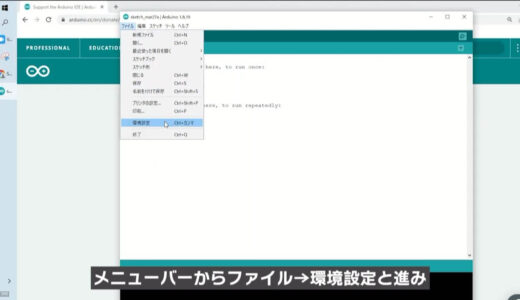
The Arduino IDE is divided into four main parts: the menu bar, toolbar, program screen, and console screen.
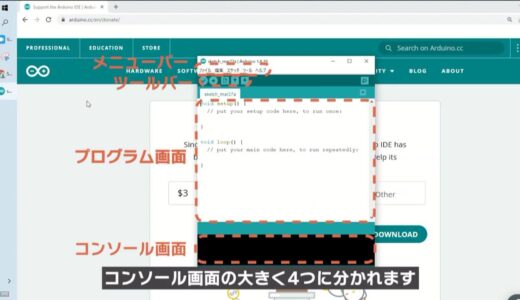
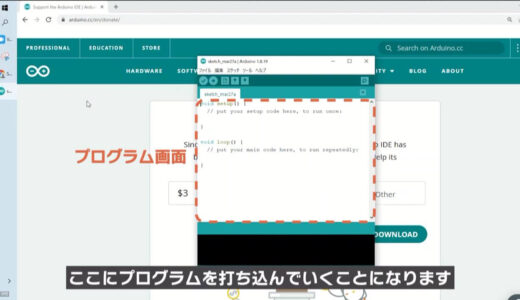
The main use is this wide area, where the program will be typed.
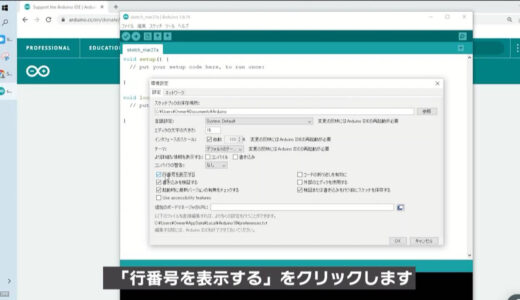
Next, let’s set up the environment, which you should do first.
From the menu bar, go to File→Preferences and click on “Show line numbers”.
 |
 |
Also, if you feel the text is too small, try increasing the “Editor Text Size” number here.
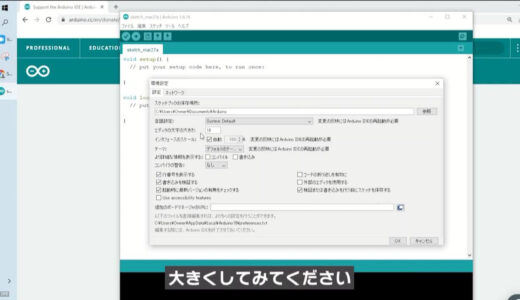
This makes the screen more readable.

In this article, we have learned the role of the Arduino IDE and how to install it.
Next, we will finally start to actually run the actual device using Arduino and Arduino IDE.
summary
This is the second part of a hands-on introductory course for beginners who are just starting out in electronics construction, with the theme of “2. Preparing the Arduino IDE”.
- What is the Arduino IDE?
- How to install and configure the Arduino IDE
The rest of this article will be explained in the third part of the hands-on introductory course for beginners.
In the next lesson, we will make a circuit to make LEDs flicker (L-ticker) and learn the flow of the circuit.
On this site, we post videos and articles that allow you to learn electronics construction systematically from zero, including explanations of the minimum knowledge and tools you need to acquire.
\電子工作歴9年の私のイチ押し!ELEGOOの電子工作キット/