
YouTube
0:00 Opening
0:17 What is IoT?
1:34 Introduction to obniz introductory kit
2:16 IoT Experience 1) Graphical display of temperature sensor values
3:50 IoT Experience 2: Wave the flag when you hear “I’m home
4:44 Introduction to HTML Programs and Block Programs
5:19 Summary
電子工作入門キットでIoTを始めましょう


This time, for those who want to build such IoT gadgets for the first time, “Let’s start with the IoT with an electronics construction introductory kit.”
I would like to talk about the theme of
In this article, we will explain in detail, with pictures, what IoT is in the first place and how to use obniz, an introductory microcontroller board.
Even if you don’t know where to start now, you should be able to use obniz by the time you finish reading this article!
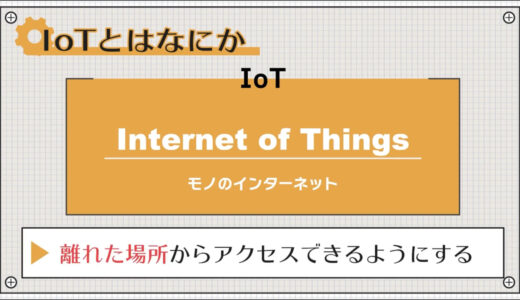
What is IoT?
To begin, let us briefly review what IoT is.
It stands for “Internet of Things” and is often translated as “Internet of Things.
It is difficult to understand what this means, but to put it simply, it means connecting things around you to the Internet so that they can be accessed from remote locations.
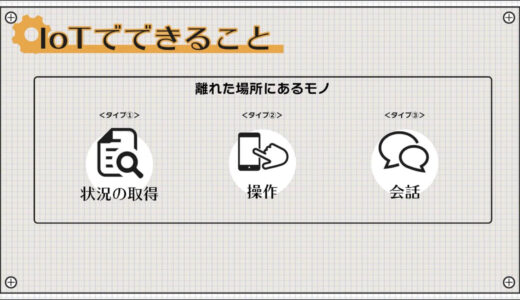
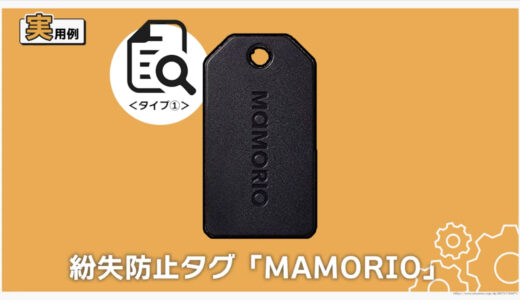
What can be done with IoT can be subdivided into the following three types
- モノの状態を取得する
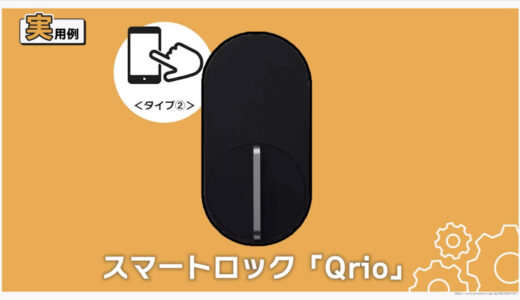
- モノを操作する
- モノ同士が会話する
There are already quite a few products on the market as practical examples, with the loss prevention tag “MAMORIO” in Type 1 “acquiring the status of things”,
In Type 2, “operating things,” the smart lock “Qrio” is well-known.
I am sure that many of you actually use these.
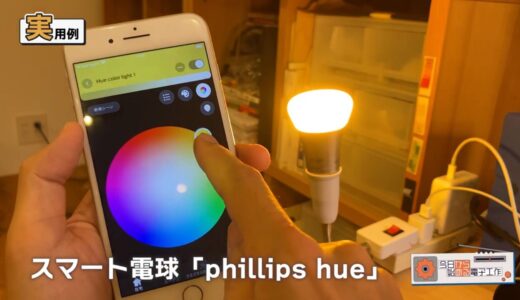
I look around my house and see “phillips hue” smart light bulbs and,
A smart intercom called “ring” emerged.
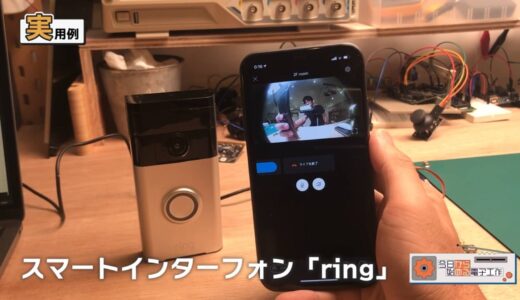
Thus, the IoT is already becoming quite familiar.
This is a brief review of the IoT.
In addition, I think that many people who are surrounded by IoT gadgets like this may be tempted to try making them themselves.
Even if they have a clear idea of what they want to create, many people seem to be troubled by the fact that they do not know where to start learning.
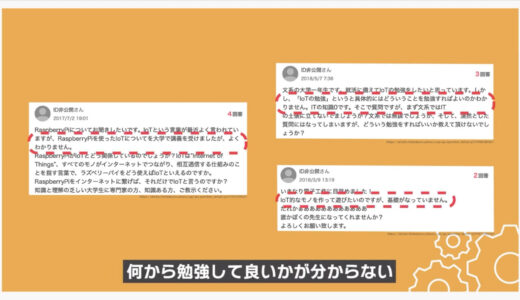
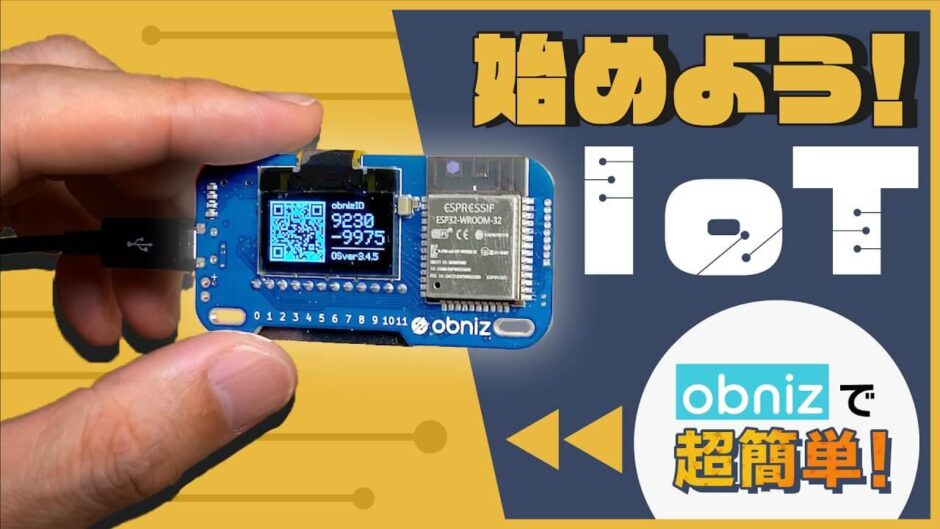
So next, I would like to introduce an introductory kit for microcontroller boards called “obniz,” which is recommended for those who want to make their own IoT gadgets.
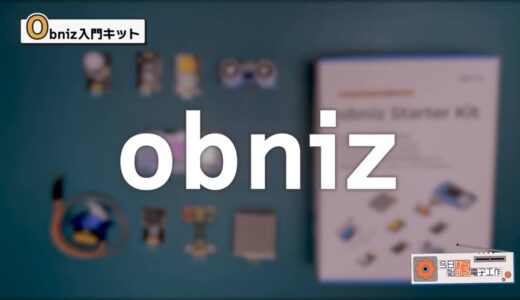
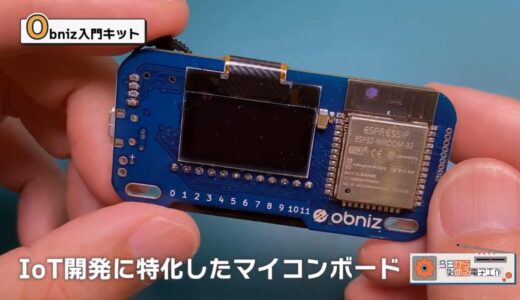
obniz”, an introductory kit for microcontroller boards
A microcontroller board specialized for IoT development, featuring an ingenious design that makes it very easy to set up network connections, which is the biggest barrier to making IoT gadgets.
And even though this introductory kit costs less than 10,000 yen, it has the following features so that even those with no knowledge can get it up and running the same day it arrives.
- 入力用・出力用のデバイスが4つずつ入っている
- サンプルプログラムが充実している

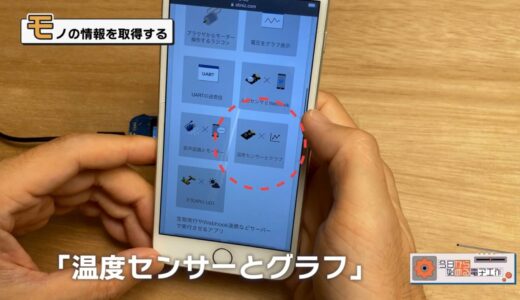
This time, we would like to experience making IoT gadgets by choosing two from our extensive sample programs.
サンプルプログラム①:離れた場所にあるモノの状態を取得する
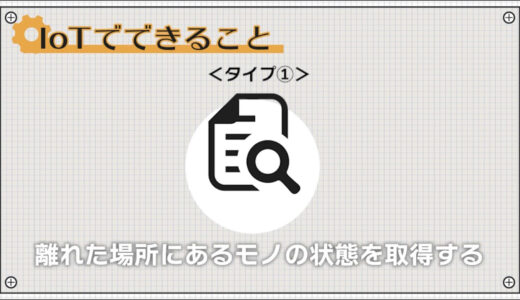
Now, as the first one, I would like to try IoT type 1), where the status of objects located at a distance is acquired.
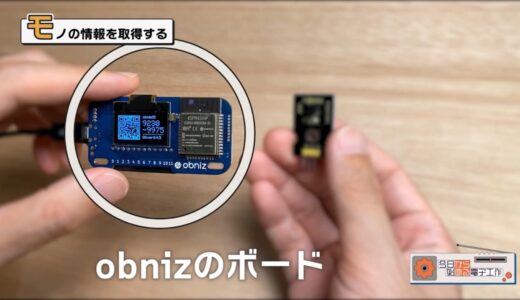
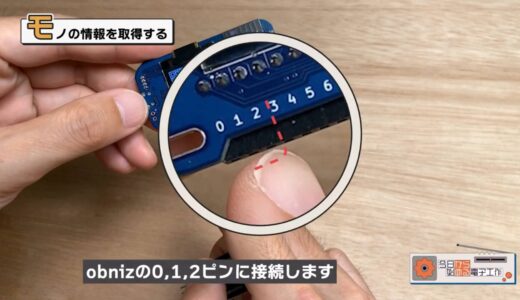
- obnizのボード
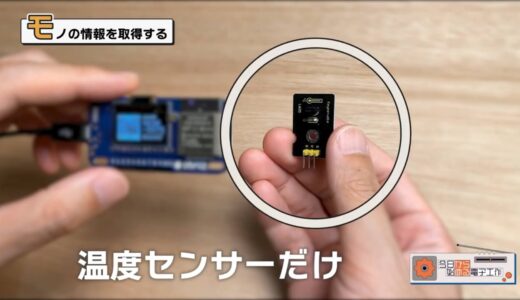
- キット付属の温度センサー
 |
 |
If you do not have an account, please obtain one in advance.
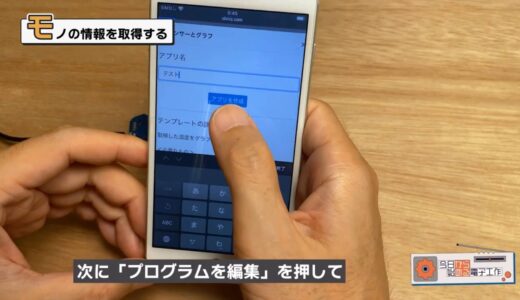
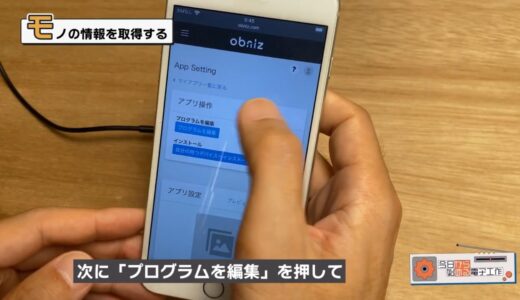
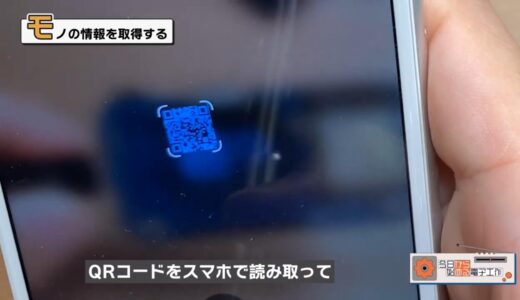
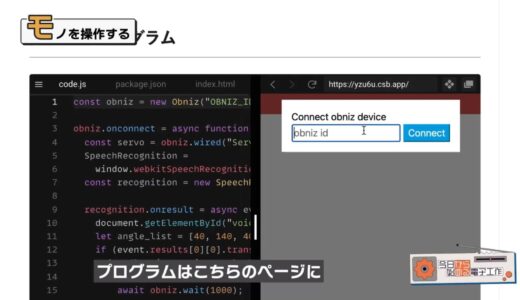
To give a rough idea of what is in the program, the first head section reads the original program, the chart section sets up the graph display, and the next script connects to obniz, reads the data from the temperature sensor, and plots it on the graph every second.
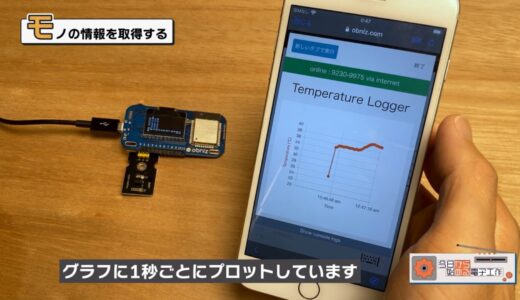
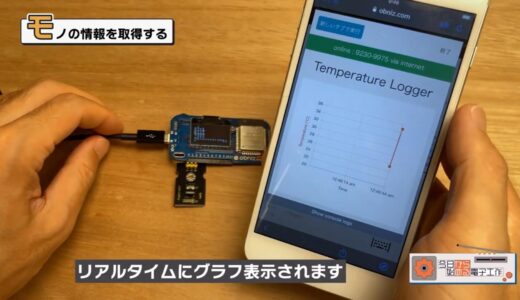
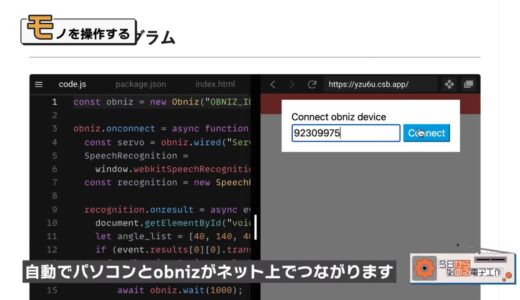
At this time, obniz and the phone are connected via a WiFi network in the house, so there is no line between them, and they can be checked from anywhere within the same network.
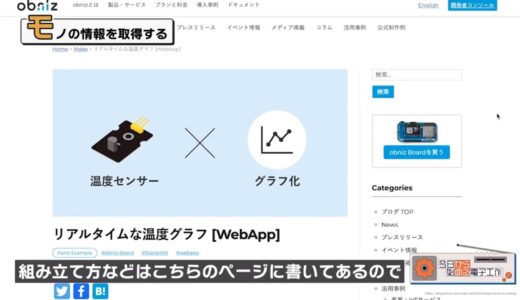
The assembly instructions are written on the official obniz page, so please look there first when you actually get your hands on it.
サンプルプログラム②:離れた場所にあるモノを操作する
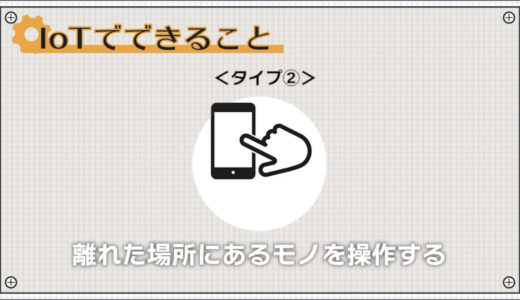
Next, we will experience the second type of IoT, where objects in remote locations are controlled.
Now let’s run the sample program using a personal computer.
- obniz
- キット付属のサーボモータ
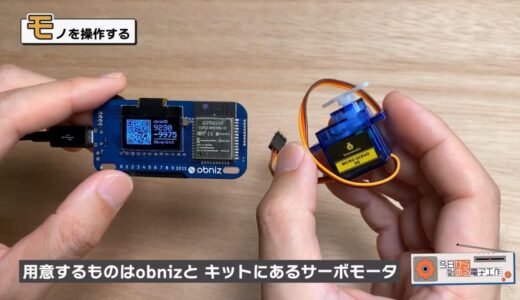
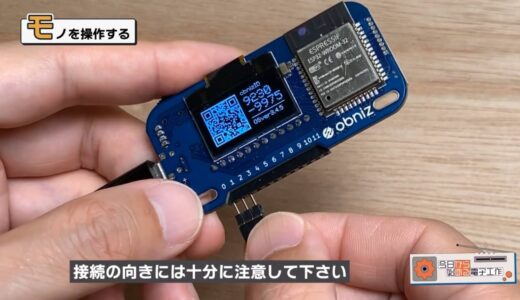
Pay close attention to the direction of connection.
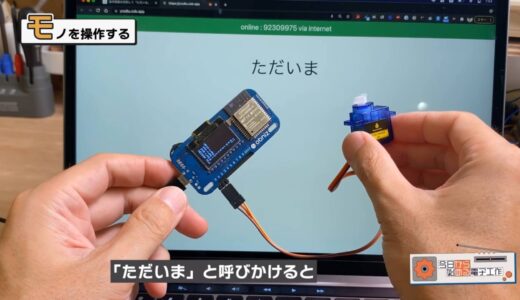
The PC then recognizes the voice and sends a signal to OBNIZ, which then operates the servo motor.
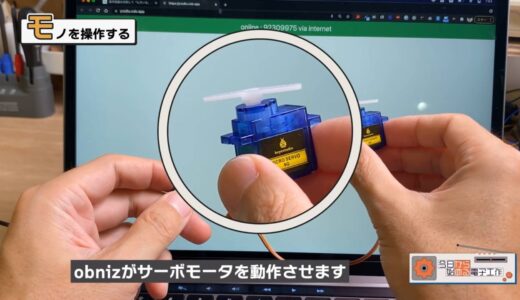
What it does is simple, but it is also a great IoT gadget.
I believe that the playability will expand as ideas come to mind, such as changing the lines that respond to different applications or attaching something to the servo motors.
So, I experienced IOT using obniz’s introductory kit and sample programs.
ワンポイントアドバイス
One last piece of advice.
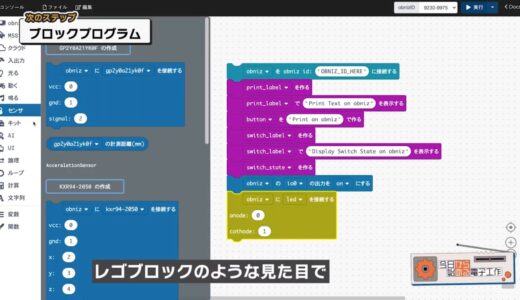
In obniz, you can create programs in two ways: HTML programs and block programs. If you are not yet familiar with programming, we recommend using block programs.
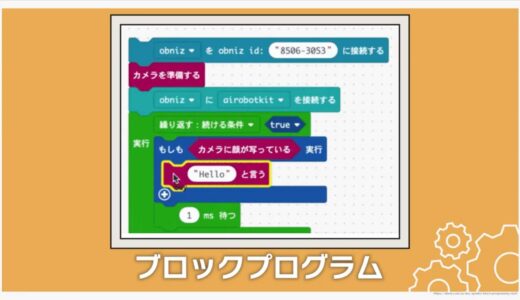
Block programming is a method that is also used in Scratch, a programming software for children, and is quite easy to get used to because it looks like Lego bricks and is fun to program.
After playing around with the sample programs, the next step is to change various parameters in the block programs and gradually arrange them in your own way.
summary
I have introduced obniz’s introductory kit for those who want to make IoT gadgets but don’t know where to start.
Personally, I believe that if you want to learn a skill, the best way is to do it hands-on.
The price is not cheap, but if you are serious about making IoT gadgets, this is the perfect kit for you to consider purchasing.
We also post other videos and articles that allow beginners to learn systematically from scratch, including explanations of the minimum knowledge and tools that a beginner in electronics should acquire.
\電子工作歴9年の私のイチ押し!ELEGOOの電子工作キット/