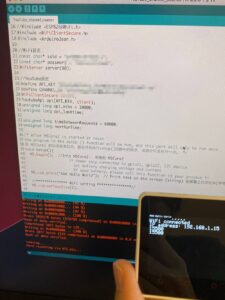
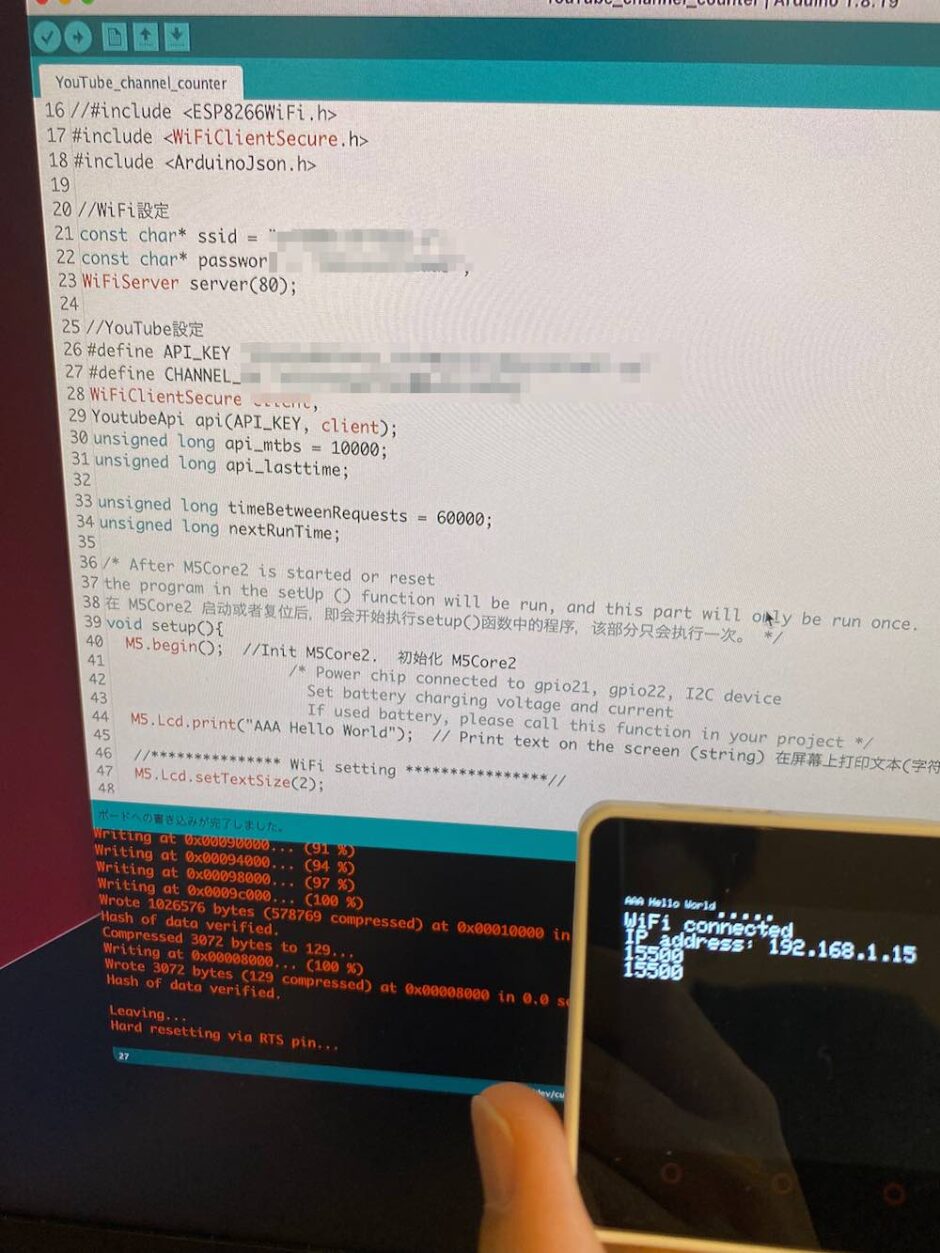
完成イメージ

コード
ひとまずコードをそのまま貼っておきます。
色々なところから切って貼ってして作っているので、余計なコードとかコメントがありますが悪しからず。
XXXXX, YYYYY, AAAAA, BBBBBのところは自分の環境に合わせて変更してください。
/* ******************************************************************************* * Copyright (c) 2021 by M5Stack * Equipped with M5Core2 sample source code * 配套 M5Core2 示例源代码 * Visit the website for more information:https://docs.m5stack.com/en/core/core2 * 获取更多资料请访问:https://docs.m5stack.com/zh_CN/core/core2 * * describe:Hello World * date:2021/7/21 ******************************************************************************* */ #include#include #include //#include #include #include //WiFi設定 const char* ssid = "XXXXX"; const char* password = "YYYYY"; WiFiServer server(80); //YouTube設定 #define API_KEY "AAAAA" #define CHANNEL_ID "BBBBB" WiFiClientSecure client; YoutubeApi api(API_KEY, client); unsigned long api_mtbs = 10000; unsigned long api_lasttime; unsigned long timeBetweenRequests = 60000; unsigned long nextRunTime; /* After M5Core2 is started or reset the program in the setUp () function will be run, and this part will only be run once. 在 M5Core2 启动或者复位后,即会开始执行setup()函数中的程序,该部分只会执行一次。 */ void setup(){ M5.begin(); //Init M5Core2. 初始化 M5Core2 /* Power chip connected to gpio21, gpio22, I2C device Set battery charging voltage and current If used battery, please call this function in your project */ M5.Lcd.print("AAA Hello World"); // Print text on the screen (string) 在屏幕上打印文本(字符串) //*************** WiFi setting ****************// M5.Lcd.setTextSize(2); WiFi.begin(ssid, password); while (WiFi.status() != WL_CONNECTED){ delay(500); M5.Lcd.print('.'); } M5.Lcd.print("\r\nWiFi connected\r\nIP address: "); M5.Lcd.println(WiFi.localIP()); //*********************************************// client.setInsecure(); } /* After the program in setup() runs, it runs the program in loop() The loop() function is an infinite loop in which the program runs repeatedly 在setup()函数中的程序执行完后,会接着执行loop()函数中的程序 loop()函数是一个死循环,其中的程序会不断的重复运行 */ void loop() { /* int result=api.getChannelStatistics(CHANNEL_ID); Serial.println(result); Serial.println("\n"); unsigned long Count = api.channelStats.subscriberCount; String thisString = String(Count, DEC); Serial.print("Subscriber Count: "); Serial.println(api.channelStats.subscriberCount); Serial.println("\n"); */ if (millis() > nextRunTime) { if(api.getChannelStatistics(CHANNEL_ID)) { Serial.println("---------Stats---------"); Serial.print("Subscriber Count: "); Serial.println(api.channelStats.subscriberCount); Serial.print("View Count: "); Serial.println(api.channelStats.viewCount); Serial.print("Comment Count: "); Serial.println(api.channelStats.commentCount); Serial.print("Video Count: "); Serial.println(api.channelStats.videoCount); // Probably not needed :) //Serial.print("hiddenSubscriberCount: "); //Serial.println(api.channelStats.hiddenSubscriberCount); Serial.println("------------------------"); int subscriberCount = api.channelStats.subscriberCount; M5.Lcd.println(subscriberCount); } nextRunTime = millis() + timeBetweenRequests; } }
下記エラーに注意
何回かコードを書き込んでいたら、途中から以下エラーが出るようになってしまいました。原因調査中、、。
Serial port /dev/cu.wchusbserial52D20315041
serial.serialutil.SerialException: [Errno 2] could not open port /dev/cu.wchusbserial52D20315041: [Errno 2] No such file or directory: '/dev/cu.wchusbserial52D20315041'
Failed to execute script esptool
スケッチの書き込み中にエラーが発生しました
 今日から始める電子工作


