photo credit: Enokson via photopin cc
こんばんは、ボーノです。
使った人は分かると思うが、XcodeのStory BoardやInterface Builderは見栄えは良いけど実際はかなり使い辛い。
一番やっかいなのは、viewやviewControllerがどのように動作しているのか、裏側が見えないこと。
ということで、動作を理解するためにもこれらのツールを使わないで実装してみた。
ちなみに、Xcode4.Xでの実装方法はわりとたくさんあったけど、Xcode5.Xでの情報はまだまだ少なかった。
参考になれば幸いです。
なお、今回はXcode5.0.2(2014/1/2時点で最新)でテストしています。
Story Boardを使わないでTabBarを実装してみる
Empty Applicationで起動
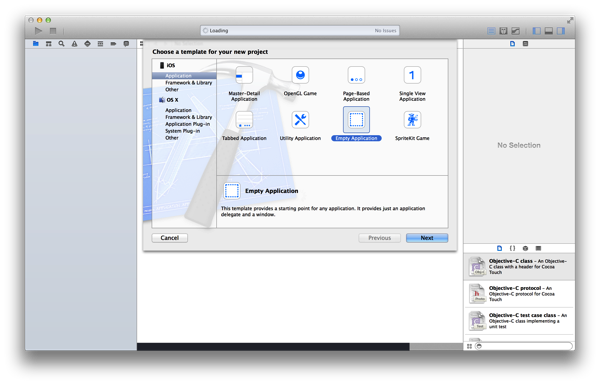
Xcodeを開いて、「New」>「Project」から「Empty Application」を開いて下さい。
Product NameはここではTabTestとします。

必要な素材を揃える
ここでは、お試しとしてタブを2つ用意します。
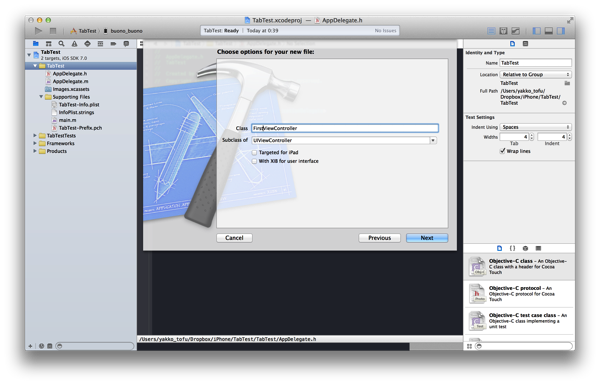
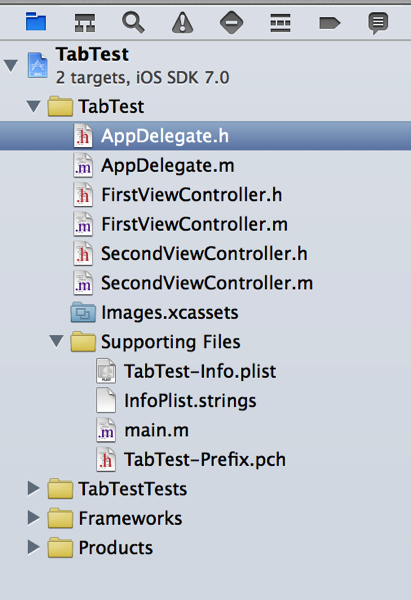
「FirstViewController」と「SecondViewController」を作成します。


Delegateファイルを少し修正
下記の通り、少し修正を加える。
AppDelegate.hファイル #import <UIKit/UIKit.h>
@interface AppDelegate : UIResponder <UIApplicationDelegate>

@property (strong, nonatomic) UIWindow *window;
@property (strong, nonatomic) UITabBarController *tabBarController; //追加

@end
AppDelegate.mファイル
#import "AppDelegate.h"
#import "FirstViewController.h" //追加
#import "SecondViewController.h" //追加

@implementation AppDelegate

@synthesize window; //追加
@synthesize tabBarController; //追加

- (BOOL)application:(UIApplication *)application didFinishLaunchingWithOptions:(NSDictionary *)launchOptions
{
    //土台の作成
    self.window = [[UIWindow alloc] initWithFrame:[[UIScreen mainScreen] bounds]];
    self.tabBarController = [[UITabBarController alloc]initWithNibName:nil bundle:nil]; //追加
    FirstViewController *firstViewController = [[FirstViewController alloc] initWithNibName:nil bundle:nil]; //追加
    SecondViewController *secondViewController = [[SecondViewController alloc] initWithNibName:nil bundle:nil]; //追加
    tabBarController.viewControllers = [NSArray arrayWithObjects:firstViewController, secondViewController, nil]; //追加
    firstViewController.tabBarItem = [[UITabBarItem alloc]initWithTitle:@"tab1" image:nil selectedImage:nil]; //追加
    secondViewController.tabBarItem = [[UITabBarItem alloc]initWithTitle:@"tab2" image:nil selectedImage:nil]; //追加

    //root viewを設定しないと警告が出る
    [self.window setRootViewController:tabBarController]; //追加

    //背景色の設定
    self.window.backgroundColor = [UIColor whiteColor];

    //レンダリング
    [window makeKeyAndVisible];

    // Override point for customization after application launch.
    return YES;
}
Viewを整えて完成
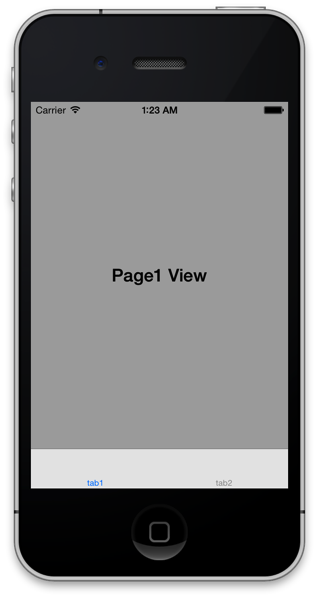
後は好きな様に「FirstViewController」と「SecondViewController」の中身を変えて完成。

参考
たくさん見たけど、下記2つのサイトが一番分かりやすかった。
iPhone アプリ研究会 Interface Builder を使用しないアプリ開発
Interface Builderを使わない最も基本的なiPhoneアプリ開発 – blog.ryotarai.info
後は、他にもコードだけでUIを作成して理解を深めたい人は下記本もおすすめ。
自分が知っている、恐らく唯一の、コードのみでの実装を解説した本。
 今日から始める電子工作


